You don’t need to be an expert to start your own blog on the internet. Today, there are tons of easy-to-use tools to get you up and running in no time.
Today we’ll be talking about WordPress, the most popular Content Management System (CMS) in history. It’s so popular, about 34% of the internet is powered by WordPress websites. Impressive, right?

With WordPress you can have a fully-functioning website up and running in a matter of hours, and that’s why it has become so popular. Not only can it make simple blogs, but it can power websites, complex online stores, and more.
Now we’re sure you’re wondering how you can get started. Don’t worry, we’ve got a list of steps for you to take.
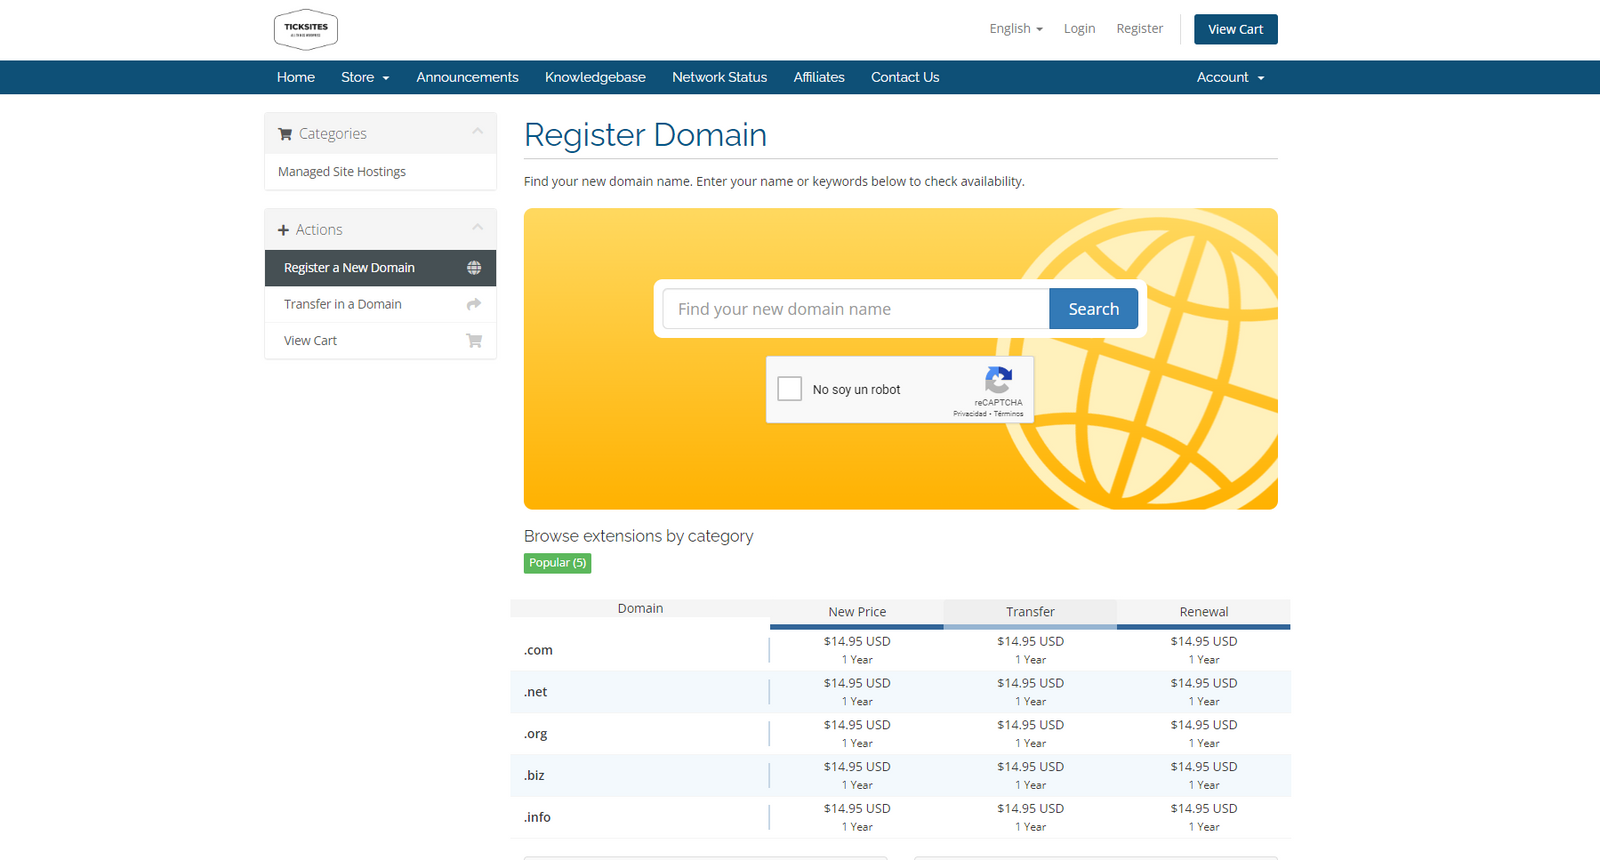
Your domain name is basically the URL of your site and your blog’s name, such as myblog.com. Getting a domain name is incredibly easy, and many companies offer domain names for under $15 a year. In most cases, you can buy your domain name and host your website through the same company, which can make things easier. in the long run.
We recommend that the domain name you pick speaks to you, or is relevant to the topic of your blog in some way. This will help improve your search engine optimization (SEO) which means people will be able to find your site faster. It should also be short and concise, as people tend to have trouble remembering long names.
Here are a few websites where you can purchase a domain name and/or hosting:
Once you’ve picked out your ideal domain name, you’ll go through a simple purchase process that will eventually send you an email with all of your site’s information. After that, you’ll be able to use your domain name along with your hosting.

WordPress has two options to create a blog: If you choose the free WordPress.com (and we mean free as it includes hosting and a domain name), you’ll be limited to the small selection of options provided to you. It doesn’t have the same level of customization options, fewer controls, and other limitations too.
On the other hand, if you choose to self-host a WordPress.org website, you’ll need to use a hosting provider for your site. This is basically where all of the storage of your website ends up, and how it gets accessed by users. Several companies offer cheap hosting plans, such as GoDaddy’s $8/mo plan. With these, the hosting company takes care of all of the headaches of server management.
You should be looking to use a hosting service for your blog in most cases, as it is far easier to offload those worries onto somebody else. It’s a simple process that can be done in a matter of minutes and will last as long as you need it to.

Now that we’ve got our WordPress installed and ready to go, we’ve got to set it up to our liking. If you hosted it through a hosting service, you should be able to access your website from that company’s account panel, or simply from your website’s login panel at myblog.com/wp-admin.
Once we’ve logged into our website, we’ll be greeted by the famous WordPress panel. Here, you’ll find our just how easy it really is and why WordPress is so popular.
In this panel, we’ll have access to everything in our website. The first thing we’ll need to do is configure a few things to get our website up and ready.
Starting off, we’ll be changing the structure of the URLs for our website. The reason for this is to improve our SEO score on search engines.
We recommend using “Post Name“, as it is more SEO-friendly.

Now the next step is to finalize your brand. Surely by now, you’ve picked out a name and a logo, right? If you don’t, no worries! There are plenty of websites to create logos easily. We’ll show you how to change the name of your blog, add your logo, and even a favicon too.
In the section “Appearance – Customize“, we’re able to configure everything related to our blog’s appearance, and even change the theme if we want. Here is where we’ll change our blog’s name and add a logo.
This is what we’ll see when we enter the “Customize” panel. Select the “Site Identity” option to upload a logo, change your blog’s name, and more.
It’s pretty clear here where you need to upload your information. What you should also remember is to update your site’s tagline, which is a brief summary of what your site is about. For example, if your blog is about cooking, your tagline could be “Recipies and Cooking Tips”. Once you’re done, go ahead and upload everything.
For those that don’t know, the favicon is the small icon you see at the top of your browser tab. These should be 35x35px.
Now that we’ve got everything uploaded, it should look something like this:
All you need to do now is hit “Publish” and your changes are set.
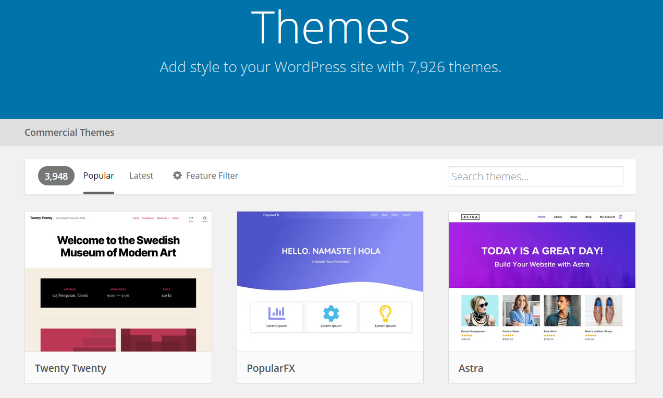
Now that we’ve got our logo set up, it’s time to customize our website with themes. We’ll be using the default Twenty-Twenty theme that WordPress offers, which is fairly basic and easy to set up. If you want to get more in-depth, there are plenty of premium themes out there to choose from to get the look you want.
In order to change our theme, we’ll need to go to the “Pages” section of the dashboard.
When a page has the tag “Front Page”, it means this will be the home page for the site that everyone sees first.
When you enter this page, you’ll find WordPress’ default page builder called Gutenberg. It’s fairly simple and easy to use.
To start editing, all you need to do is click an element and you’ll be able to customize it how you choose. It’s a very intuitive system, so you shouldn’t have any trouble.

Okay, now that we’ve got all of those things out of the way, it’s time to write. To truly start your blog, you need to go the “Posts” section of your dashboard.
Once you’re here, press “Add New” to start your first blog post.
First things first, we’ll need to add a title, some blog content, a category, and any tags.
Take note of some of these fields you’ll see in the blog page:
Once we’re all done, this is what our post should look like:
And that’s the final result!
If you have any questions or comments, please let us know and we’ll be happy to answer them. We hope we helped you out today!